Width
Space for your hands.
Check your current bar’s stated width and how it is measured. A dimension at the hoods may differ from one at the drops, especially on a flared bar. Compare the same measurement convention.
The road makes the rules.
You choose the line.
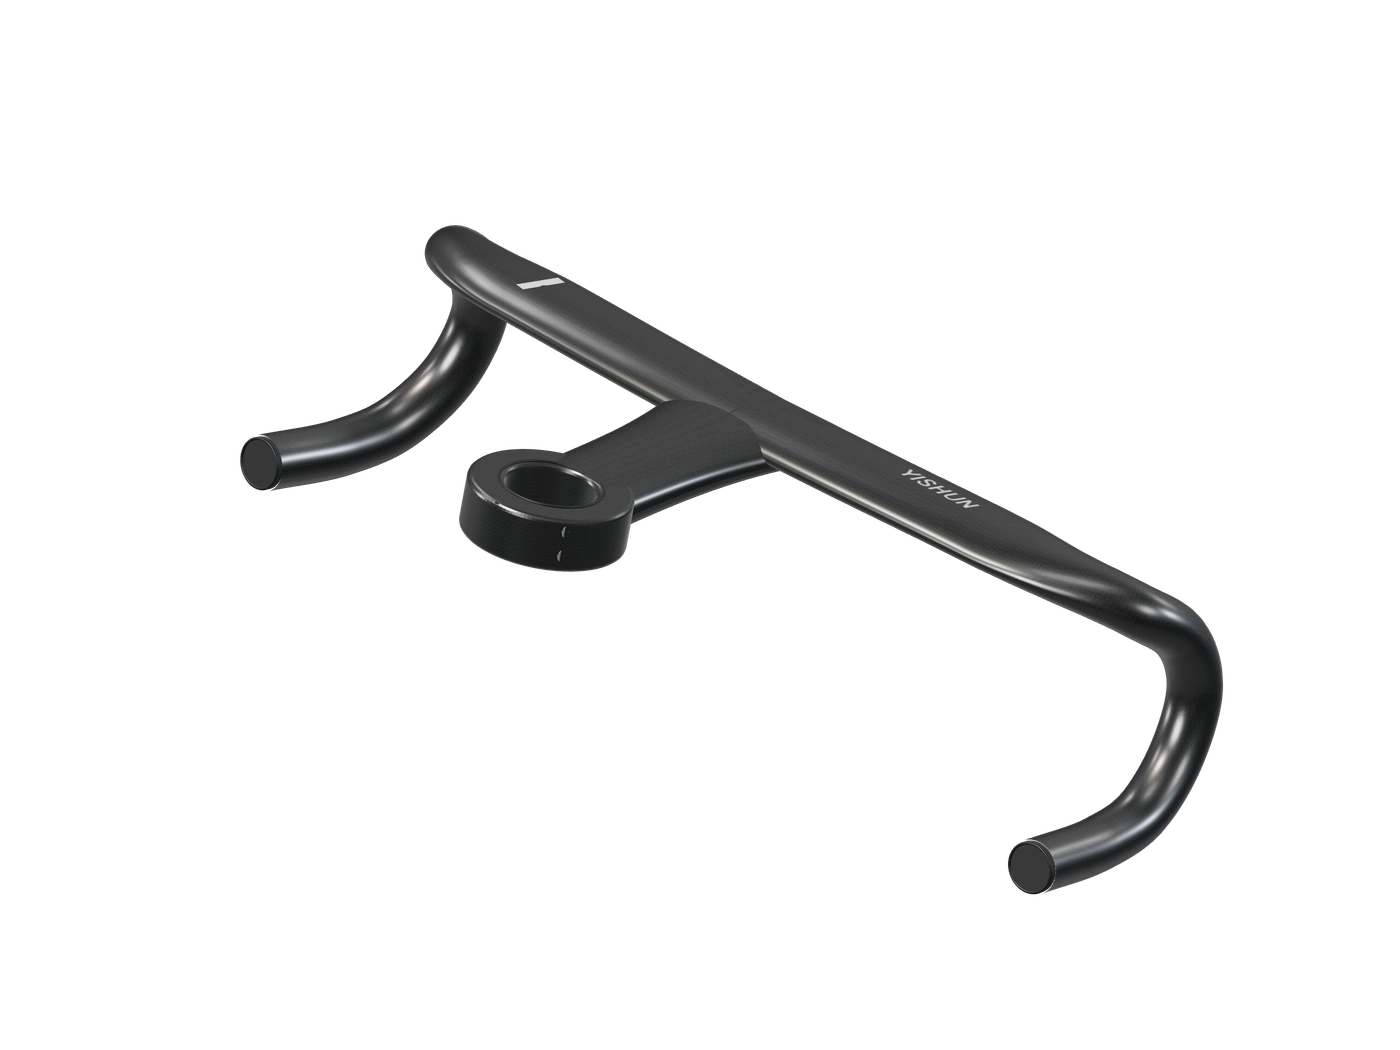
Concept visualization
A broad top for the climb. Forward shoulders for the controls. Curved drops for the descent. Three distinct places for your hands, shaped into one continuous cockpit.
The stem flows directly into the bar. Look closer at the center junction, follow the shoulders, then trace the curve down to the drops. Every part has a place in your ride.
Read the form
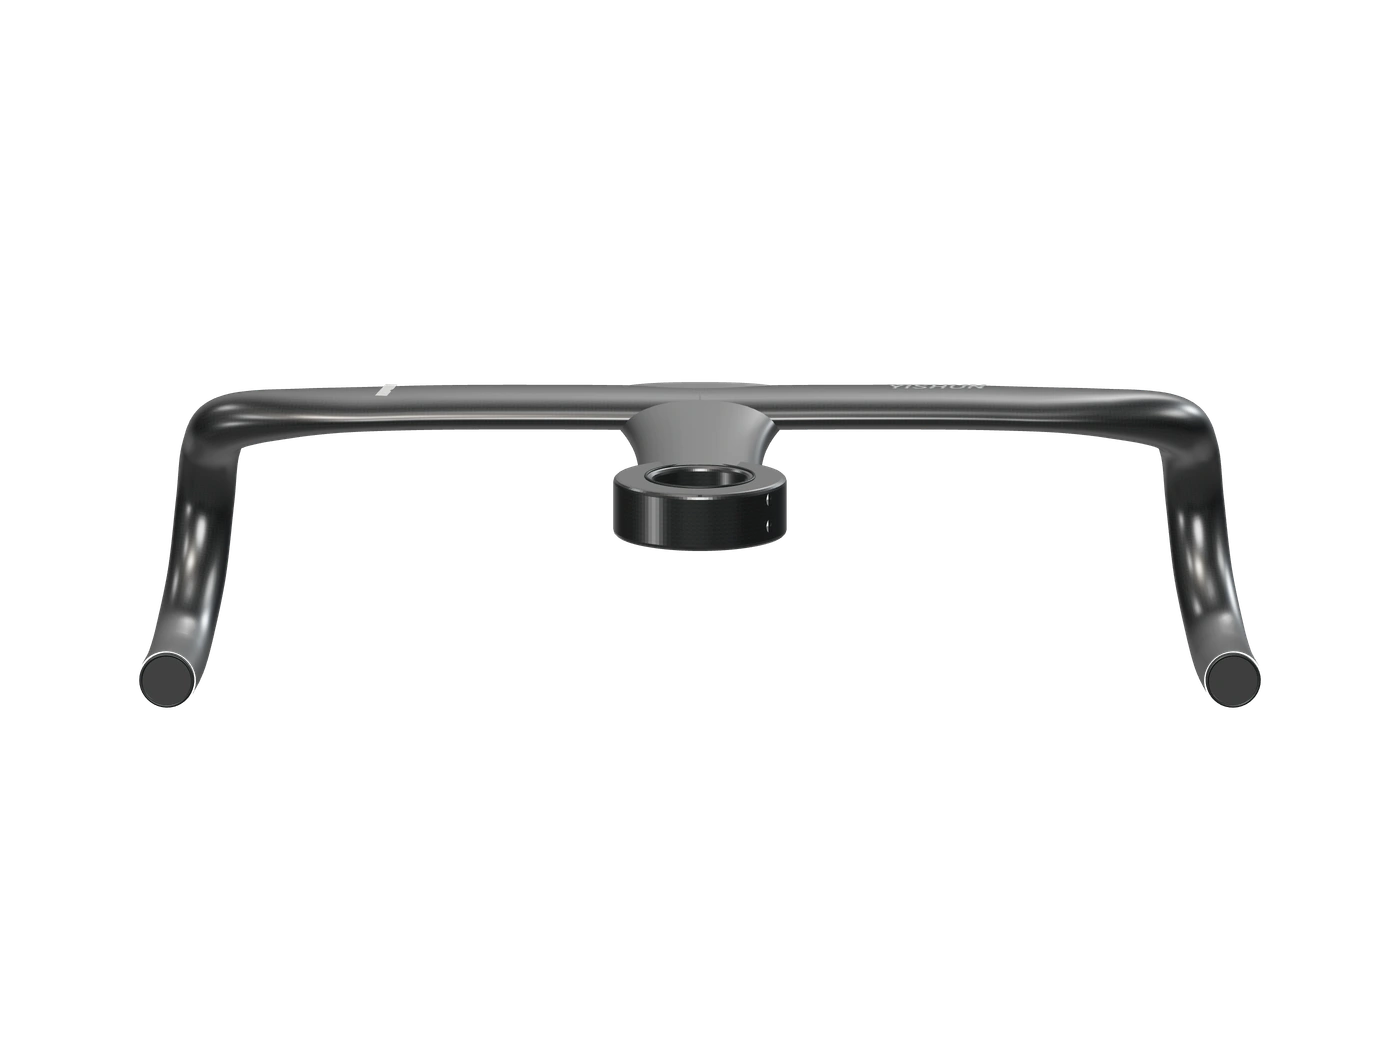
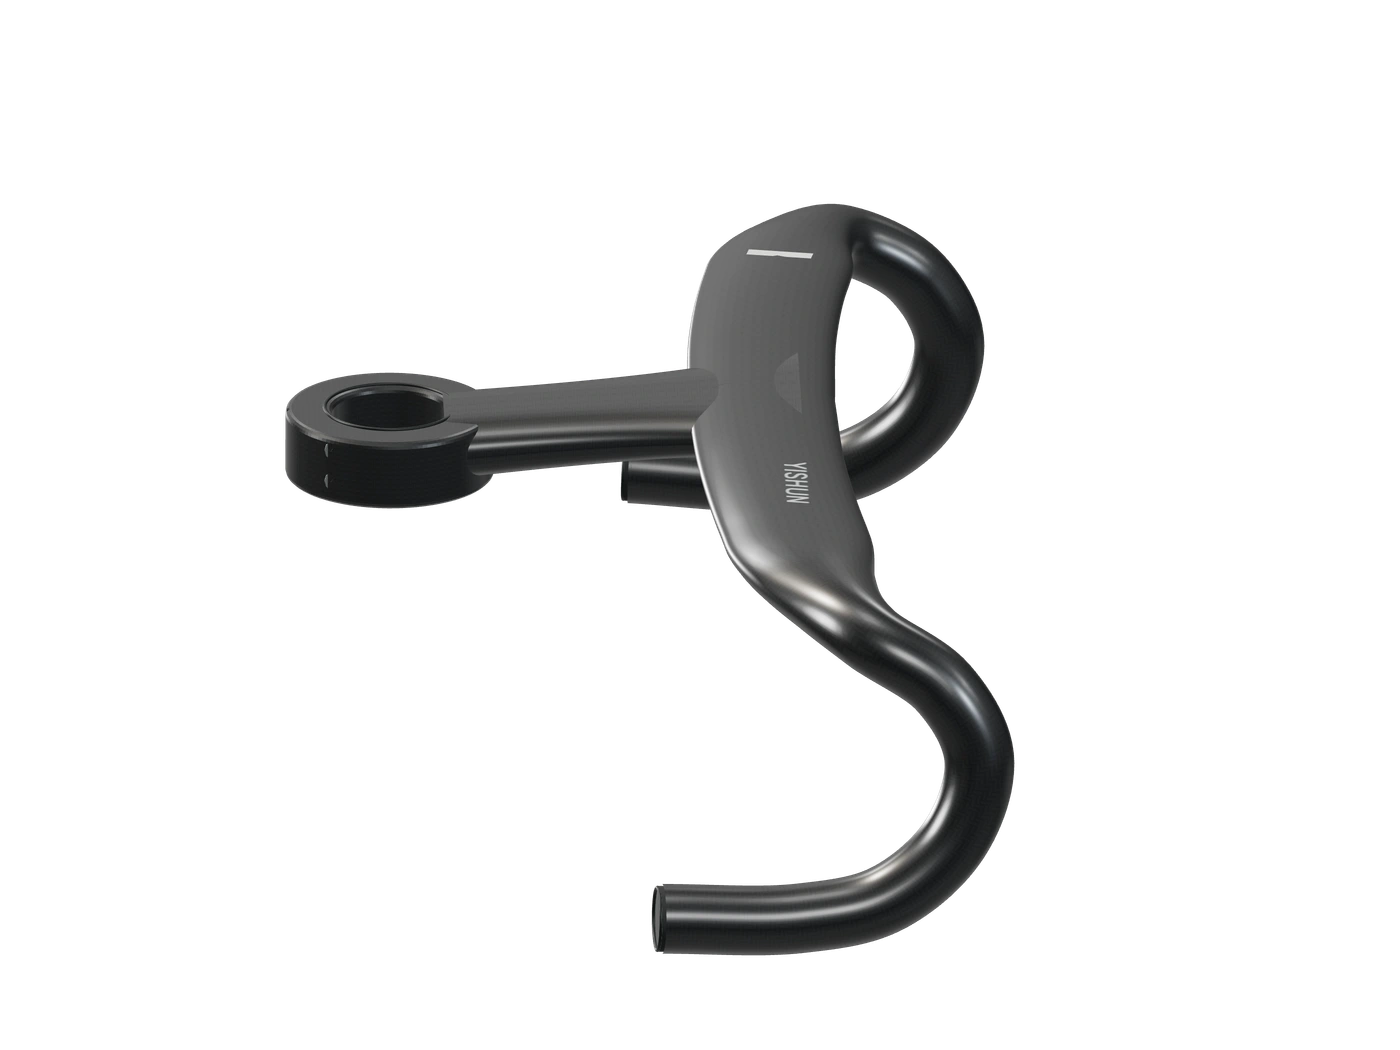
Under the surface
Carbon is a material. The way it is made is the story.
A visible weave is the first thing you notice. Beneath it, fiber direction, resin and the arrangement of layers influence how a carbon component behaves. The surface alone cannot tell you the whole story.
That is why a considered cockpit starts with more than a finish. Compare the manufacturer’s construction information, intended use and published testing alongside the shape you can see. Good decisions go deeper than the photograph.
Surface illustration. The exact laminate and finish depend on the production model.
The highlighted upper surfaces give your hands a broad resting place. Use the tops to vary your position on a steady climb, moving back to the controls when you need to brake.
Follow the highlighted shoulders toward the control position. Your brake and shift levers complete this contact point; the hoods themselves are not shown in this concept.
Trace the highlighted curve into the lower grip. The drops bring your hands down and your body lower. Reach and drop dimensions both matter when finding a position you can hold.
The complete connection
A clean front end is a meeting of parts. The cockpit needs to work with the bicycle underneath it and the controls in your hands.
Find your proportions
A cockpit should make sense for your body and your bicycle. Start with what you ride now, then consider what you would like to change.
Space for your hands.
Check your current bar’s stated width and how it is measured. A dimension at the hoods may differ from one at the drops, especially on a flared bar. Compare the same measurement convention.
Start with your reach.
Use your current stem length as a reference, then consider bar reach and lever position together. Changing one dimension can change the position of your hands. A bike fitter can help connect the numbers to your riding position.
Not sure yet is a useful starting point. Save the details you know and leave the rest open for discussion.
Start my fit briefBefore the first kilometer
The last part of the cockpit is the way it is set up. Give the details the same attention as the silhouette.
Record your bicycle model and year, current bar width, stem length and the setup you find comfortable. A photograph of the front end can help a manufacturer understand the existing parts.
Check the cockpit, headset cover, spacers, controls and routing requirements together. Use the exact product drawings and installation instructions for the selected model.
Set the lever position and bar angle with a qualified mechanic. Follow the specified torque values and clamping instructions rather than assuming every carbon component uses the same settings.
Check access to the controls from your intended hand positions. Review reach and comfort with a bike fitter when changing the dimensions of your cockpit.
A closer look
The details that matter before you choose your next cockpit.
It brings the handlebar and stem into one assembly. That creates a continuous form, while making width, stem length and the complete fit especially important to confirm before choosing a model.
No. Bar reach, drop, flare and lever placement also affect the position of your hands. Use the geometry drawing for the actual model and compare it with your current setup.
The render shows the cockpit without brake and shift controls or bar tape. The highlighted shoulders indicate the area leading toward the control position; the fitted levers complete that contact point.
A text file downloads to your device with the preferences you selected and the bicycle details you entered. You can use it when speaking with YISHUN or a bike fitter. It does not place an order or send your information to a server.
A better ride starts
with a closer connection.